With Oh My Posh your Visual Studio Code Terminal will become a real highlight.
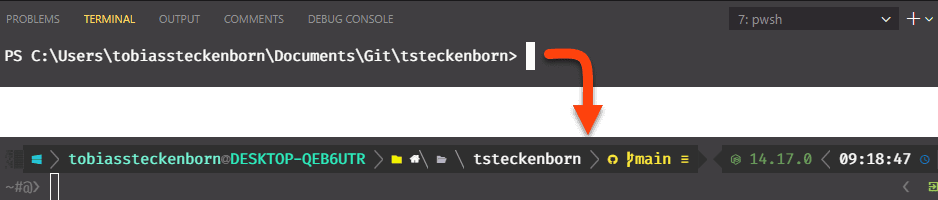
This is what your Visual Studio Code Terminal looks like when you have Oh My Posh installed along with Posh-Git, which provides the additional Git-specific metadata on the command line. The theme shown below is Slim. Oh My Posh is a custom prompt engine for any shell that allows you to customize the prompt string with functions or variables. This can be helpful and looks better to me, but is not a necessity. So be warned and follow the steps only if you also want an extended PowerShell in VS code.
Step 1 – Installing Oh My Posh and Posh-Git
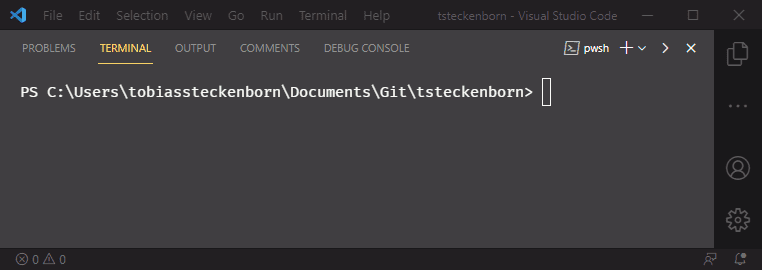
First, you need to install Oh My Posh and Posh-Git. I assume that you already have Visual Studio Code and Git for Windows installed. Start Visual Studio Code and open PowerShell in the terminal.
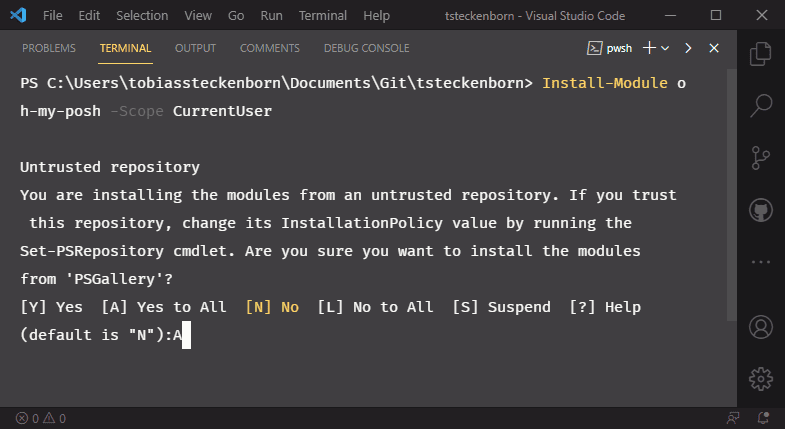
Now enter the following commands in PowerShell. The first time you run the Install-Modules command, you will get a warning that you are downloading and installing things from the Internet, so follow the prompts accordingly.
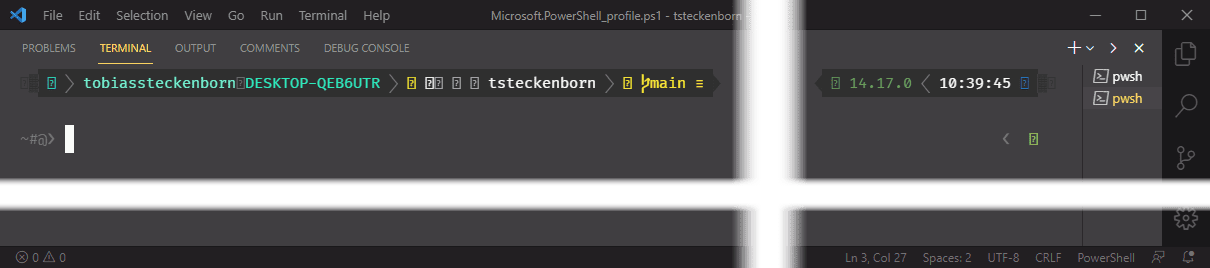
Then run “code $PROFILE” in PowerShell. This command opens your PowerShell profile in Visual Studio Code. Enter the following lines in this file and save it.
The use of “Slim” is optional. It is the name of a theme and you can (and should!) choose the theme you are excited about and use the name of that theme here.
Now open a new PowerShell in the terminal and you will see the first change.
But something is still not quite right. You see a lot of question marks. These question marks represent characters that your current font does not support. Let’s fix that in the next step.
Step 2 – Install a suitable font
The font you are using does not have the extended powerline characters. These characters are what make the terminal look so awesome! Such fonts are available from Nerd Fonts, for example. I am currently using FiraCode. Choose the font you like and install one of the included mono fonts.
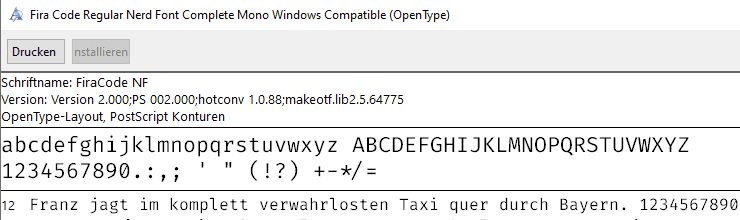
Now you need to use the installed font in Visual Studio Code for the terminal. To do this, open the command palette in VS Code (Ctrl-Shift-P) and select “Preferences: Open Settings (JSON)”. Add an entry for “terminal.integrated.fontFamily” here. For example, for the font used above, it looks like this: “”terminal.integrated.fontFamily”: “FiraCode NF”,”.
Save your settings and see the font directly in your terminal. If you just installed the font, you may need to restart VS Code.
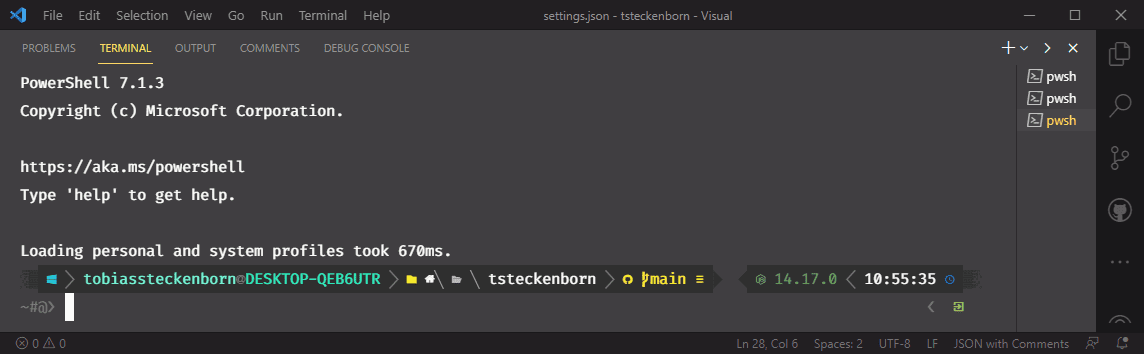
You now have a prettified and enhanced Windows PowerShell in your Visual Studio Code terminal. Do you have any other tips for a nicer PowerShell in VS Code?